My macOS Terminal setup
Aug 1, 2020
- Tools
After several years of using macOS I have come across some tools which have helped me use the terminal faster. I will try to document these here, incase I or someone else needs it in the future.
Although I am currently using macOS Catalina (10.15.4), the setup I give here should work with any recent macOS version
Why ?
Before changing the properties of the terminal, we should be aware of what we are changing and why we are doing it. Many people think that the goal is to make the terminal more “pretty”, “fun” and “colorful”. I feel that these should not be the goals (even though they are some of the desirable side effects). The goal is to make our terminal usage more effective.
Some things to keep in mind while making modifications:
- Don’t make it slow - Installing your theme or plugins to your terminal should not impact the speed. Your terminal should not get “prettier”, at the cost of speed.
- Keep it familiar - Occassionally someone else might need to use the terminal on your computer. So make sure that while adding features, you are not breaking the regular terminal workflow. A person not fimilar with your terminal should still be able to use it in the same way as the default setup (backward-compatible, for the lack of a better word).
That said, there are some bottlenecks in the default terminal :
-
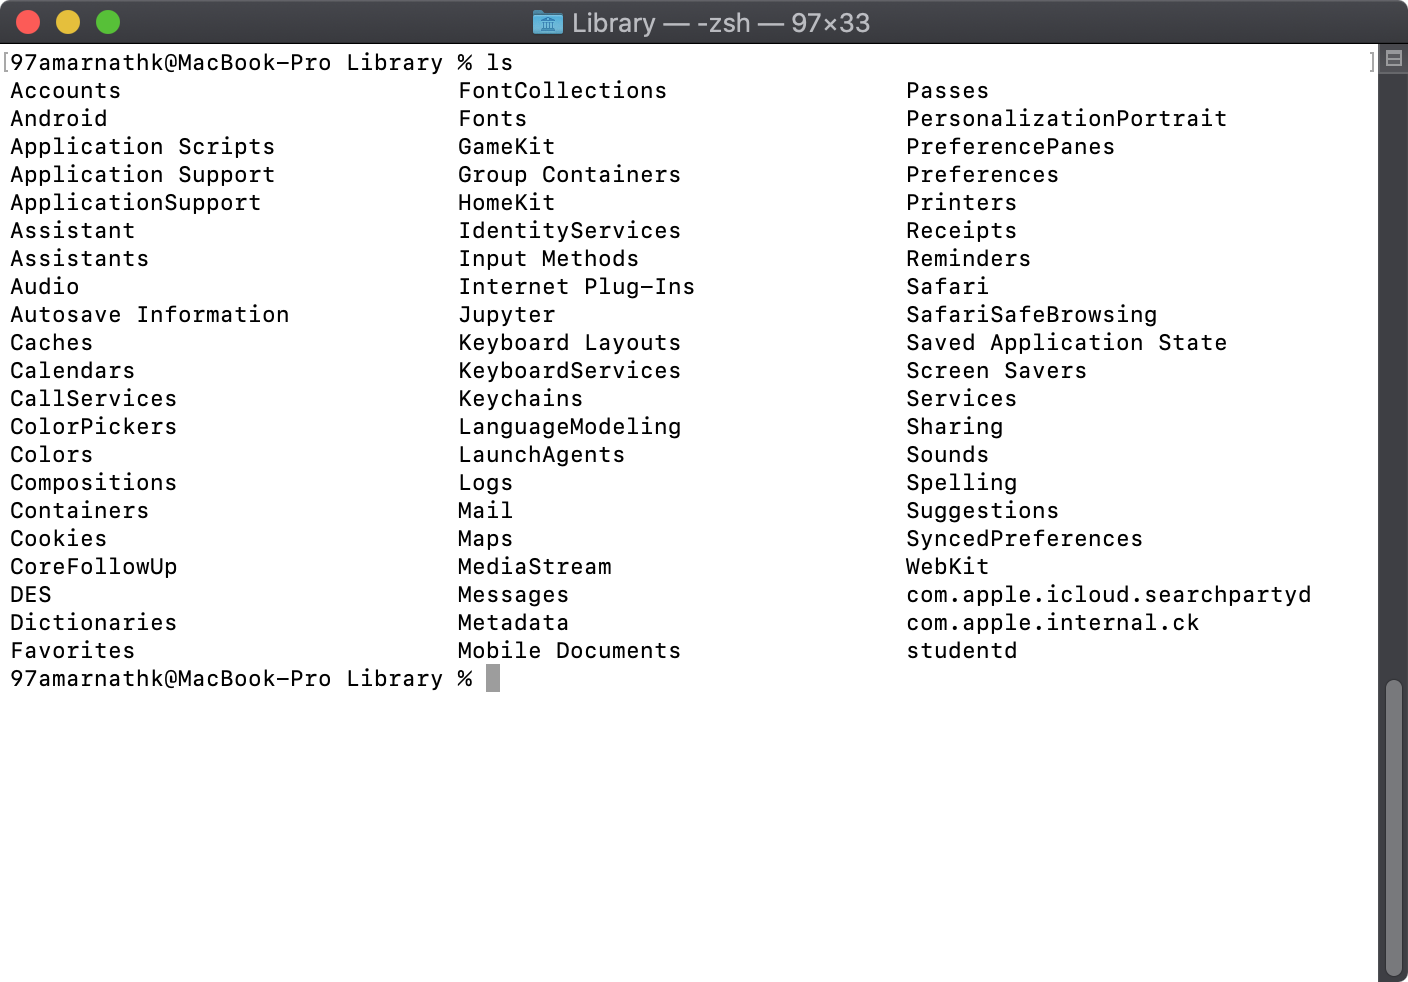
Takes too long to read - Since all text in the terminal looks alike, its hard to read, and understand different pieces of information conveyed by it. For example, differentiating a long command from its output takes some time. Another example is that while reading stack traces, finding ERROR in the huge pile of text takes considerable time. Thats where color coding your terminal text comes in the picture (making the terminal “pretty” as a side effect)
-
Keeping track of commands - Many times we have long commands, which are not easy to remember. You might note them down in a separate place, for future reference, or keep aliases. These are some ways to deal with this problem. But we can leave the responsibility of keeping track of our commands to the terminal application itself (The command
historydoes this, but adds an extra step of searching manually). This is where autosuggestions come into the picture.
Prerequisites
Take a backup of your dotfiles
Your command line settings (if you have any), are stored in the form of dotfiles (.bashrc if you are using bash, or .zshrc incase you already have zsh). Installation of Oh My ZSH and ZSH plugins will involve making changes to the dotfiles. Therefore it is a good idea to take backup of these, incase you need to revert or copy some part of your old dotfiles to the new ones.
mkdir ~/backups

# if you use zsh and the following files are defined
cp ~/.zshrc ~/backups/zshrc
cp ~/.zsh_profile ~/backups/zsh_profile

# if you use bashrc and the following files are
cp ~/.bashrc ~/backups/bashrc
cp ~/.bashrc ~/backups/bash_profile
Xcode or Xcode CLI tools
For installing Homebrew, you need to have either Xcode or Xcode CLI tools installed. Xcode can be installed from the macOS App store. Install Xcode CLI tools using the command
xcode-select --install
Homebrew
Homebrew is a popular command-line package manager for macOS. It will be used for installing ZSH. Install Homebrew using the command
/bin/bash -c "$(curl -fsSL https://raw.githubusercontent.com/Homebrew/install/master/install.sh)"
iTerm2
iTerm2 is a terminal application I use. It has several features like split panes, command autocompletion built in. Even though I prefer iTerm2 over the default Terminal.app in macOS, this step is completely optional, and the rest of the setup would work even on the default Terminal app.
Installation
- Download iTerm2 zip archive from its official website.
- Unarchive the zip, and copy the iTerm2 application to the Applications directory.
iTerm2 color presets
When you launch iTerm first time, it will look same as the default Terminal app. We will be making changes to the theme and color scheme, by importing color presets.
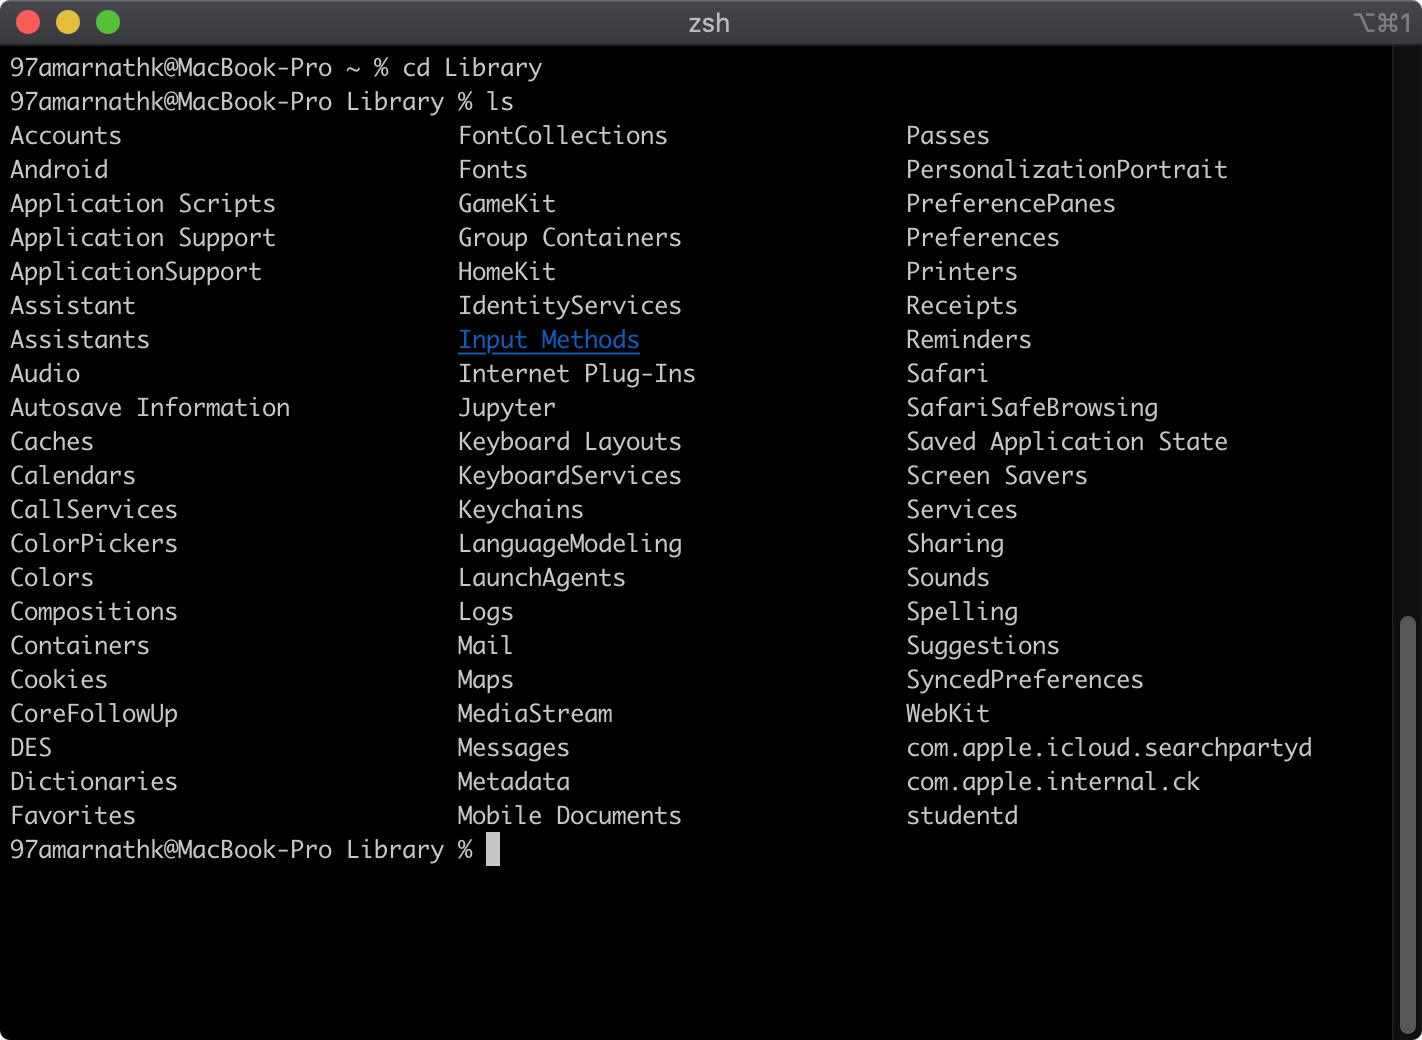
iTerm colors are changed by importing .itermcolors files which contain color presets.
To download the correct color presets and import :
- Go to https://iterm2colorschemes.com/, and find a color correct scheme as per your liking. Nocturnal Winter is my personal favorite, and I have used this in the screenshots of my terminal.
- Once you find your theme, right click on its link and select the Save link as option, to download it in the
.itermcolorsformat. - In iTerm2, go to Preferences or press Cmd ,.
- Select Profiles → Colors.
- In the bottom right corner you will find the Color Presets drowpdown. Import your downloaded
.itermcolorsfile by selecting Import from the dropdown. Finally select the theme you just imported from the dropdown again. - Optionally, in iTerm Preferences, go to Appearance → General. In the Theme dropdown select Minimal. This will make the entire window of the same color and remove borders.
The iTerm window may or may not look different now. This depends on the .itermcolors color preference file you imported. In my case since the background is black in the color preferences as well, no significant difference is seen.
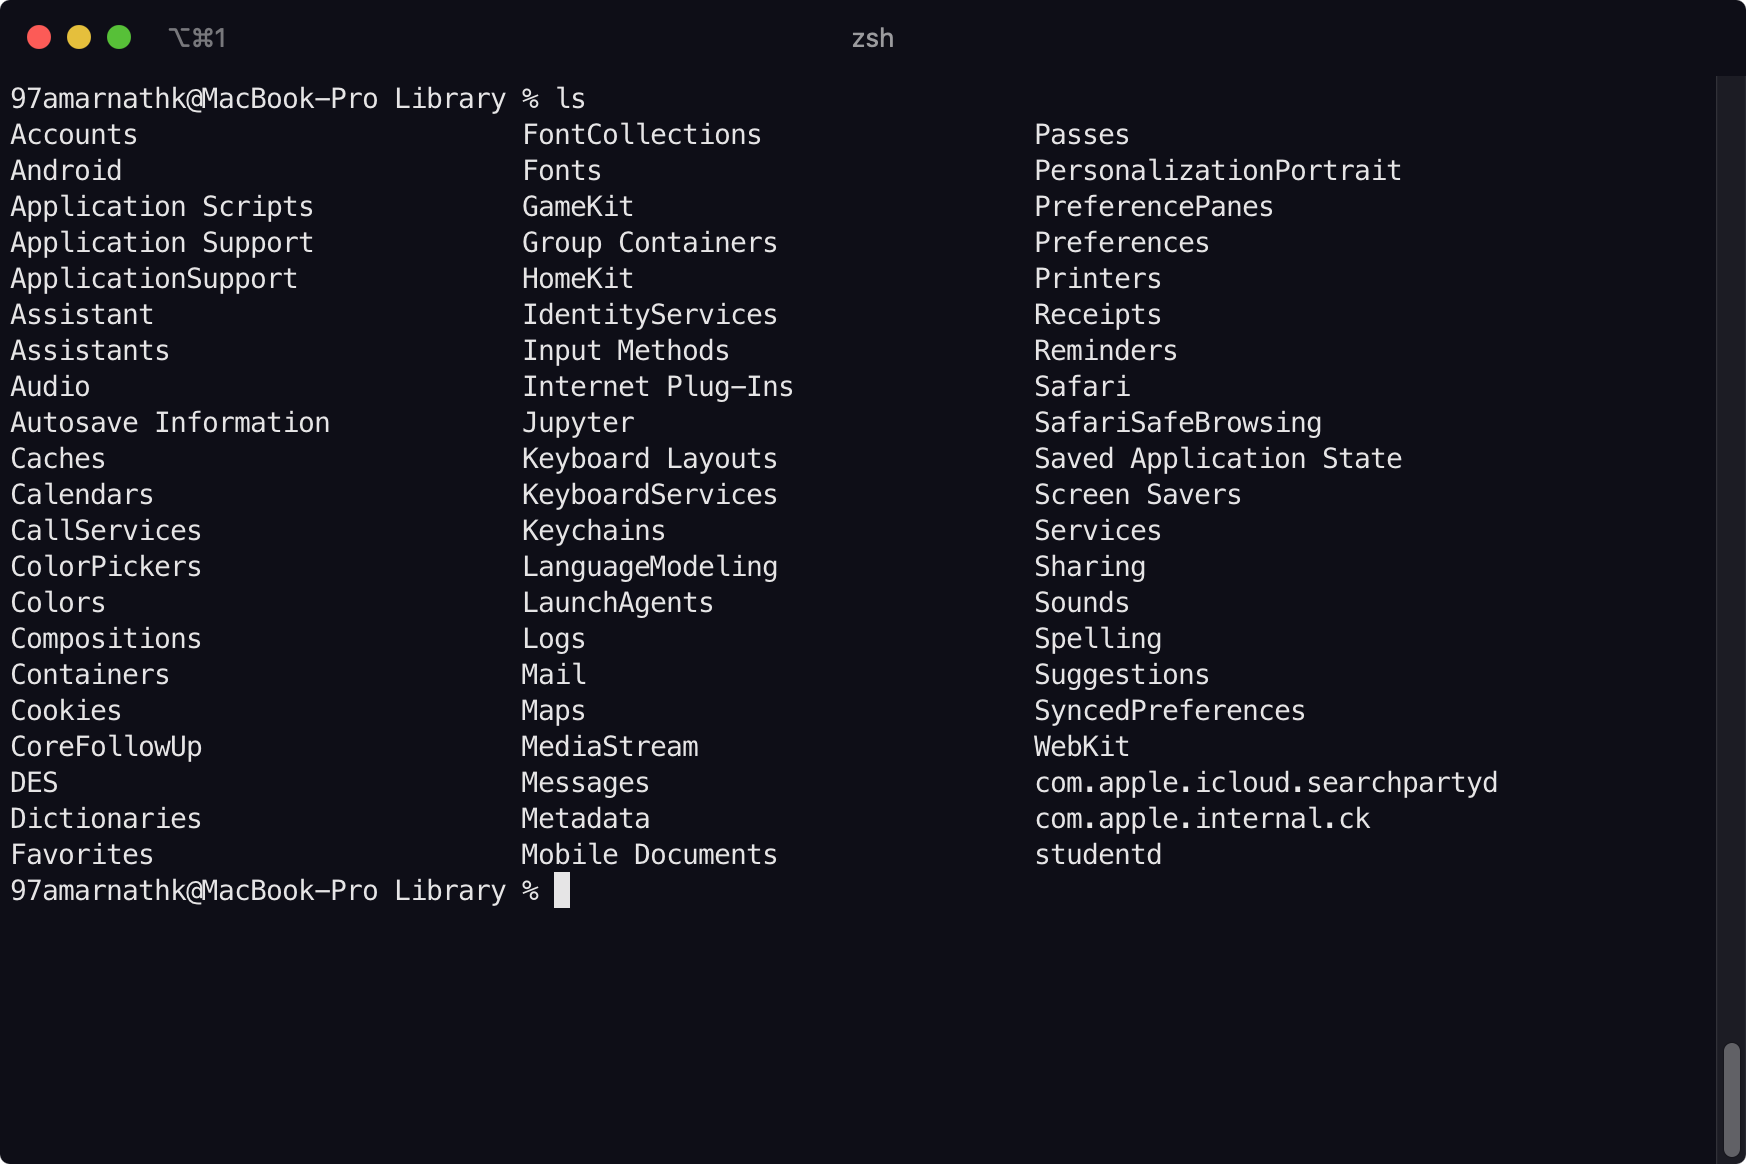
Not many colors will be displayed yet. The use of color preferences we imported will be used once we setup ZSH and its plugins.
Triggers for Errors, Exceptions, and Warnings
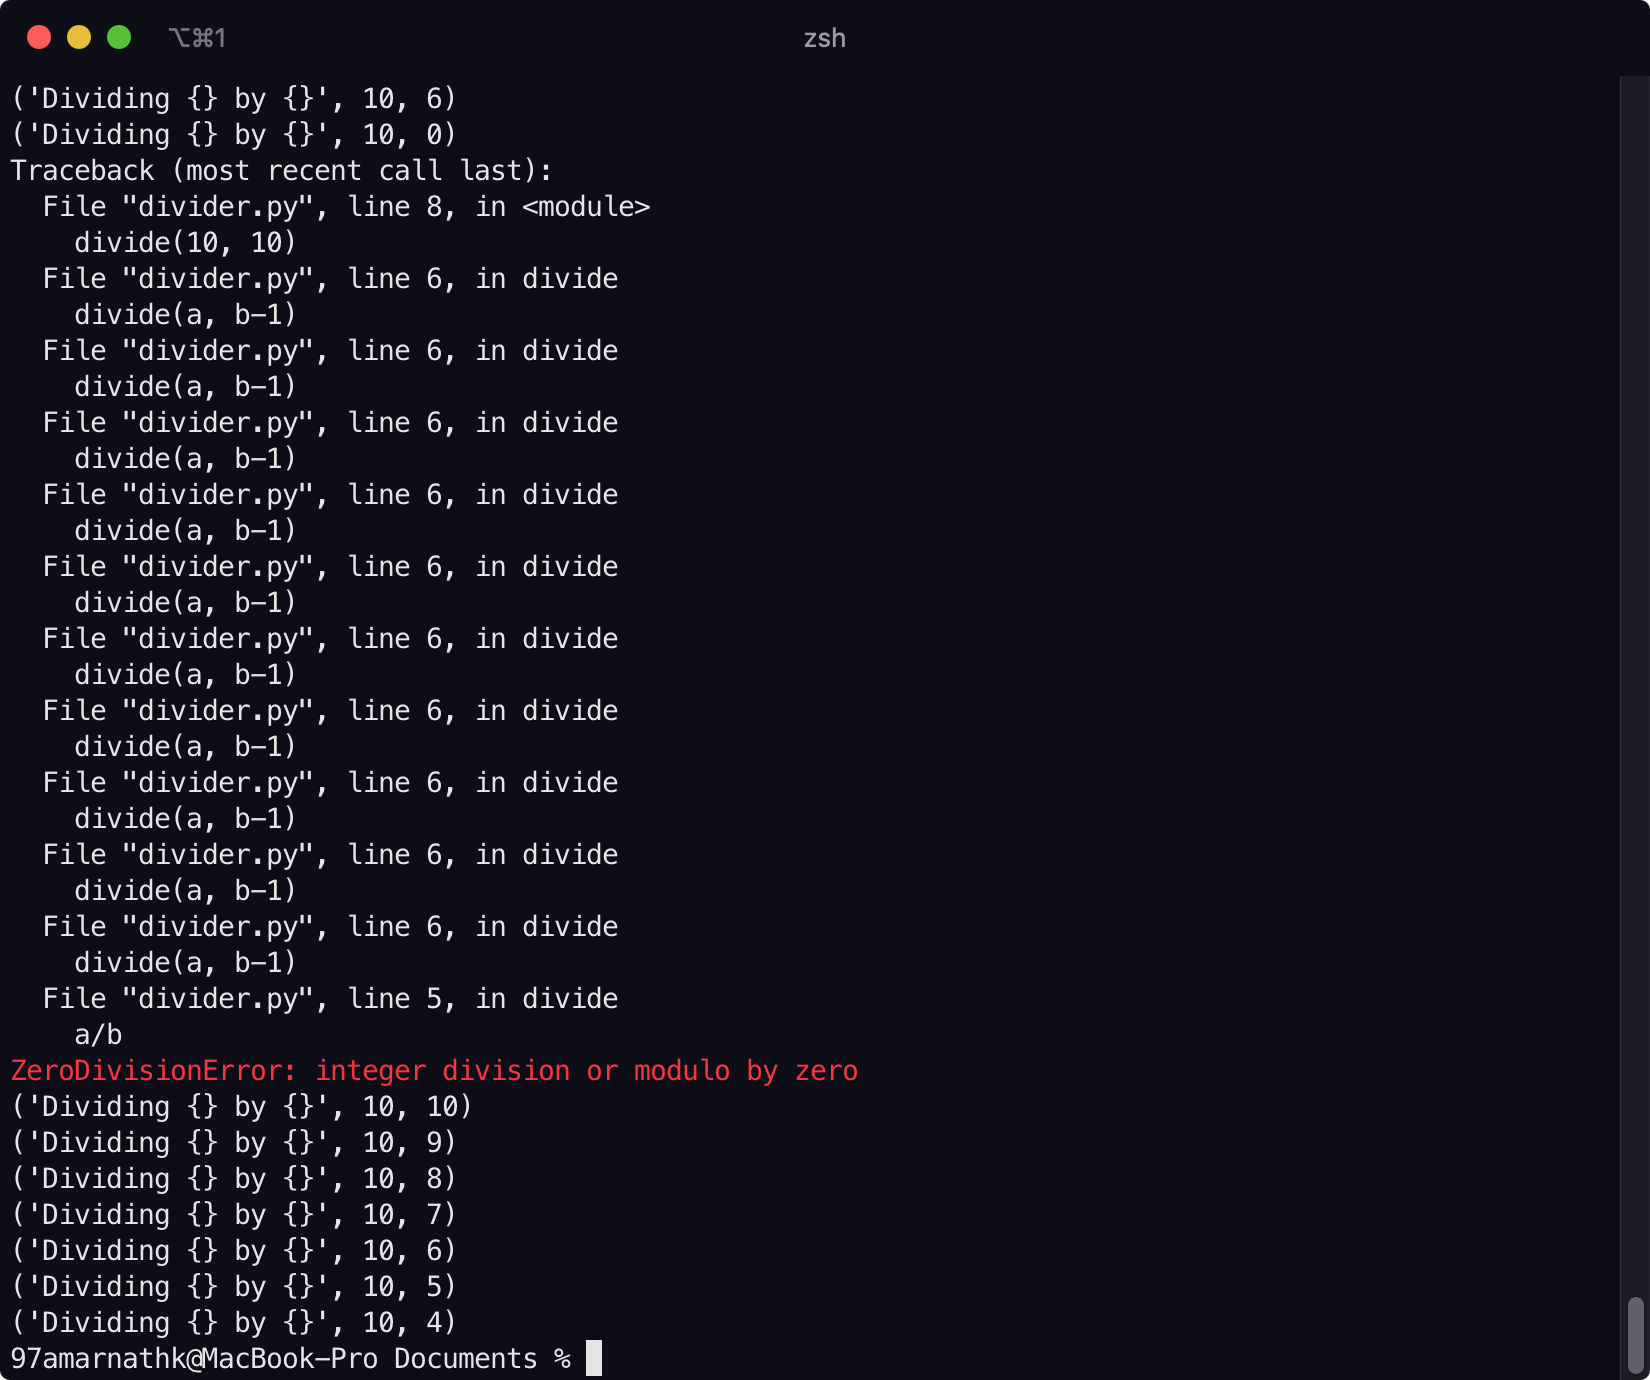
One way we can use colors in our terminal setup is to differentiate Errors, Exceptions and Warnings from rest of the text while going through stack traces and application logs. For example ,try finding the error in the following logfile.
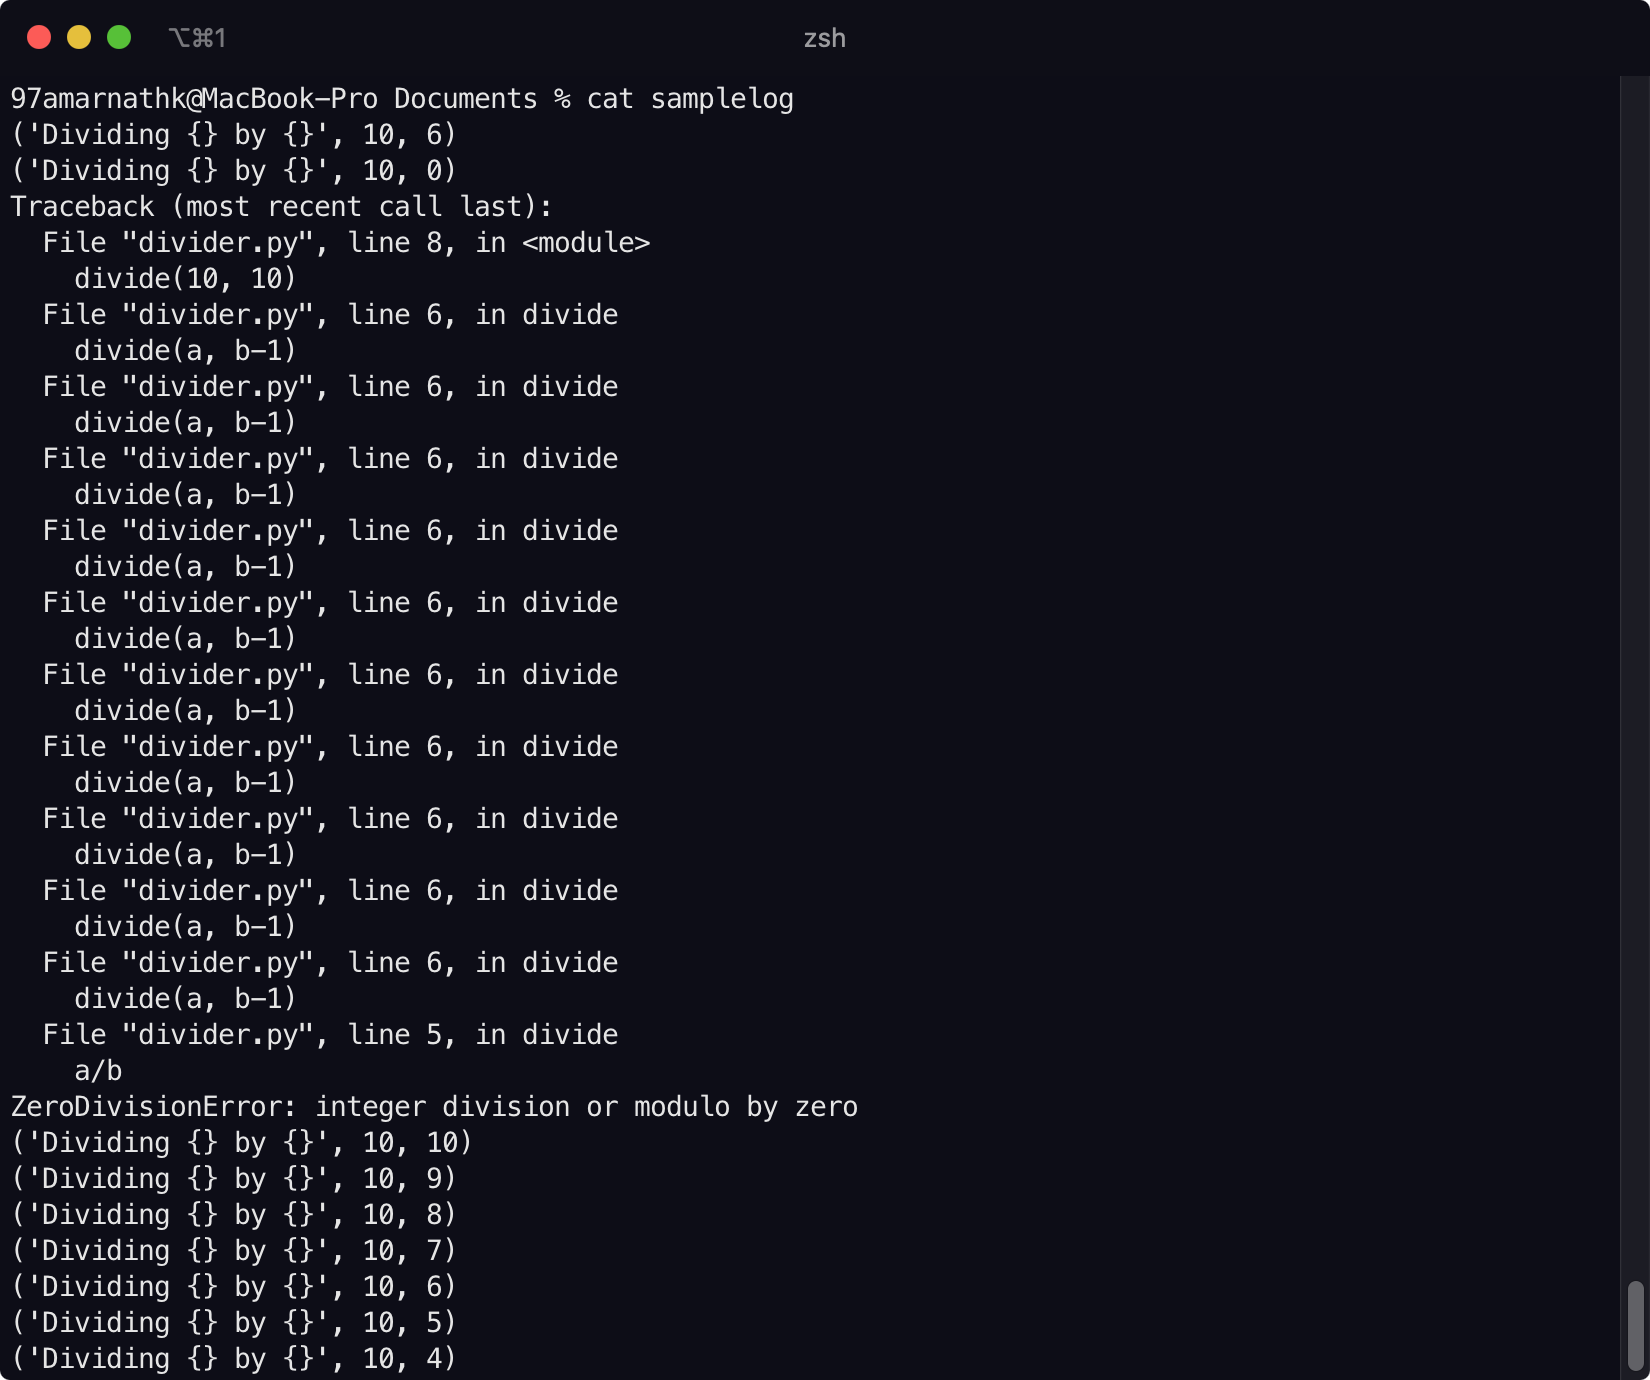
One could simply do CmdF and search for the term “ERROR”, but this is too manual. Moreover you can only do this when you are trying to look for errors or warnings, and not when you don’t expect them to show up in your logs or terminal.
To solve this issue, we use iTerm Triggers.
A Trigger is an action that is performed when a text matching some regular expression (some search pattern) is received in the terminal window. You can configure a Trigger to perform a wide range of actions which are well documented here.
When the terminal window displays a line containing “error”, “exception” or “warn”, our Trigger should highlight the line in a specific color. Create this trigger in the following way -
- In iTerm2, go to Preferences (Cmd ,).
- Navigate to Profiles → Advanced.
- Under the section Triggers click on Edit.
- Add a new Trigger by clicking on the + button at the bottom left of the window.
- Select the newly added Trigger in the table and edit the following fields
- Set the Regular Expression as
(?i:.*error.*). This means that our trigger will be activated on getting a line containing any word which aserrorin its substring (case insensitive). - Select the Action as Highlight Text.
- Set desired Text and Background colors under the Parameters. (I went with Red text with Transparent background for errors.)
- Enable the Instant checkbox. This will fire the trigger as soon as the matching line occurs.
- Set the Regular Expression as
- Similarly set Triggers for Exceptions and Warnings.
- Use
(?i:.*exception.*)as the regular expression for exceptions. I use Red text for exceptions. - Use
(?i:.*(warning|warn).*)as the regular expression for warnings. I use Orange text for warnings.
- Use
Once set, the Triggers should look like this.
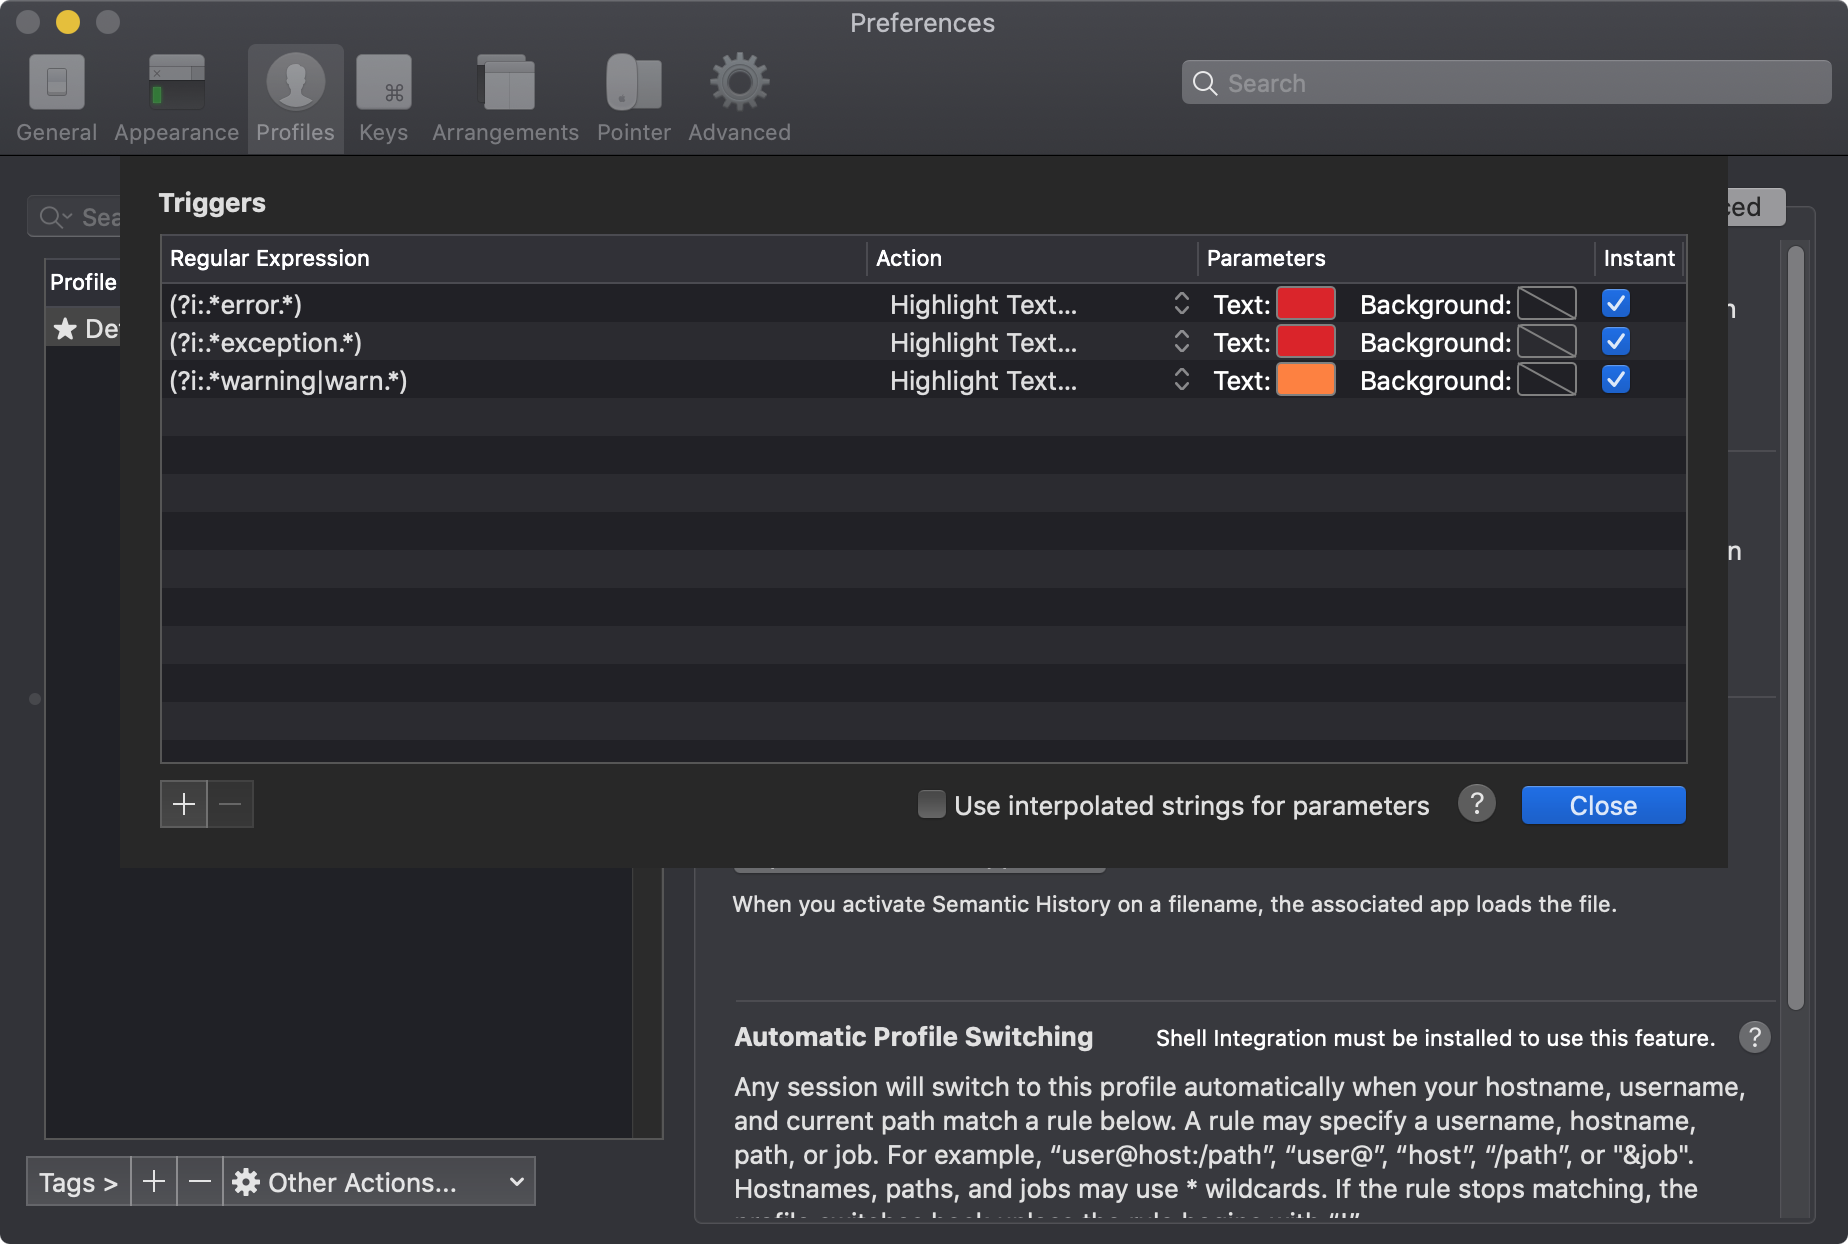
Verify that the triggers are working by performing cat on any file containing the words “error”, “exception” and “warn”.
Lets see the logfile example above, this time with triggers enabled.
ZSH
The Z Shell or zsh for short is an alternative to bash, which till recently was the default shell for macOS. It offers several features, while being backward compatible in terms of how you use bash. It is much more easily customisable and has a huge set of plugins.
macOS 10.15 Catalina and higher have zsh as the default shell. But it might not be the latest version. So make a fresh install of ZSH using Homebrew.
- Install ZSH using brew
brew install zsh - Check the location of zsh using the
whichcommand, it should be in/usr/local/bin/zshinstead of/usr/bin/zshwhich is the default zsh on macOS.# should print "/usr/local/bin/zsh" which zsh - Append this path to the file
/etc/shellsso that macOS knows of this as a shell option. Once added, verify again that the/etc/shellsfile contains your entry.# output should contain the line "/usr/local/bin/zsh" cat /etc/shells - Now change the default login shell to zsh using the following command. It will prompt you for your password.
chsh -s /usr/local/bin/zsh -
Restart your computer.
- You might be faced with the following prompt on opening iTerm2 again.
This is the Z Shell configuration function for new users, zsh-newuser-install. You are seeing this message because you have no zsh startup files (the files .zshenv, .zprofile, .zshrc, .zlogin in the directory ~). This function can help you with a few settings that should make your use of the shell easier. You can: (q) Quit and do nothing. The function will be run again next time. (0) Exit, creating the file ~/.zshrc containing just a comment. That will prevent this function being run again. (1) Continue to the main menu. Type one of the keys in parentheses -
Select option
0, to just create an empty~/.zshrcfile. - Verify that you are using
/usr/local/bin/zshas your shell using the following command.# should print "/usr/local/bin/zsh" echo $SHELL
oh-my-zsh and plugins
Oh-My-ZSH is a framework which manages your ZSH Configurations. It helps you in managing zsh themes and plugins as well.
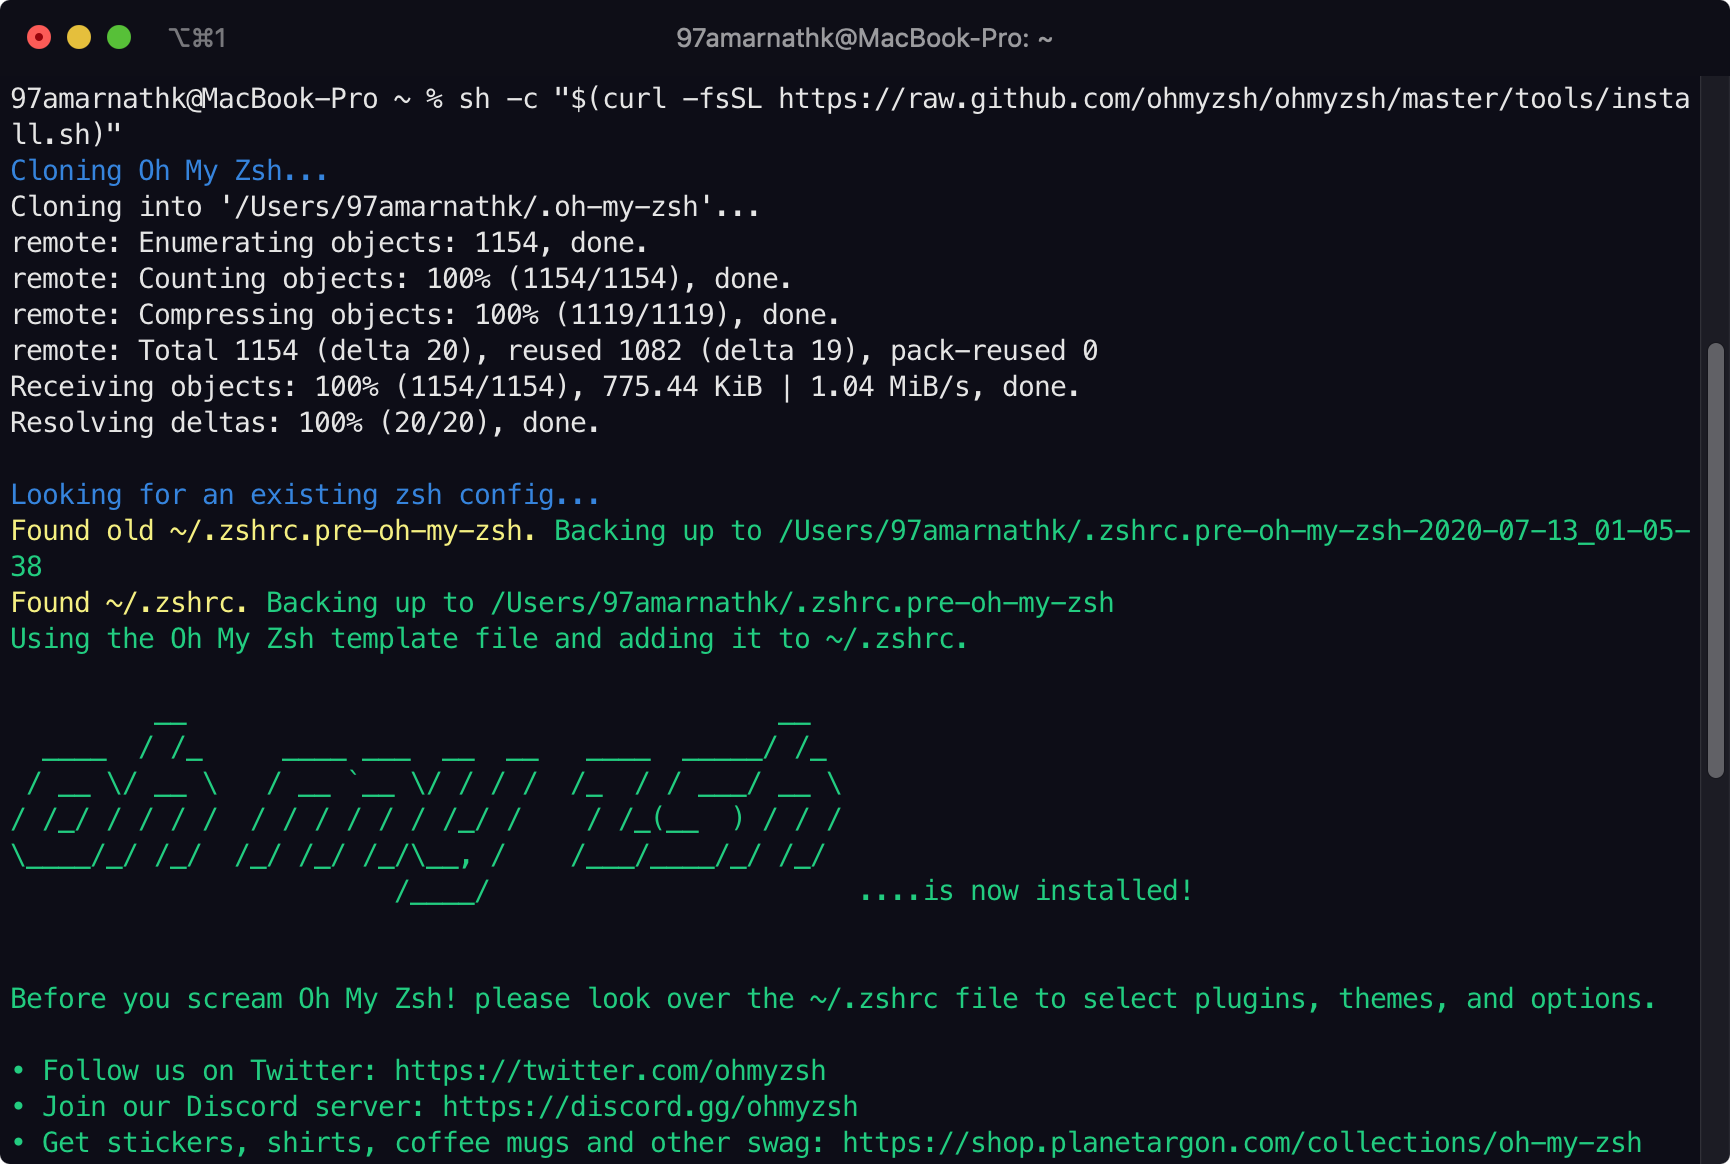
Install it using the following command.
sh -c "$(curl -fsSL https://raw.github.com/ohmyzsh/ohmyzsh/master/tools/install.sh)"
After installing you should be greeted by this flashy message.
Powerlevel10k
Powerlevel10k is a high speed, flexible, customizeable theme for ZSH.
It derives its name from Powerlevel9k, another popular ZSH theme, which is now deprecated and not maintained anymore. Powerlevel10k is (much) faster than Powerlevel9k (hence the higher number in the name).
- Use the following command to install Powerlevel10k
git clone --depth=1 https://github.com/romkatv/powerlevel10k.git ${ZSH_CUSTOM:-~/.oh-my-zsh/custom}/themes/powerlevel10k -
Set
ZSH_THEME="powerlevel10k/powerlevel10k"in the file~/.zshrc -
Close and restart iTerm2.
- You should be greeted with Powerlevel10k’s configuration wizard, which will recommend you to download and use the MesloLGSNF as the fefault font on iTerm. This is required since the default macOS fonts do not support non ASCII characters.
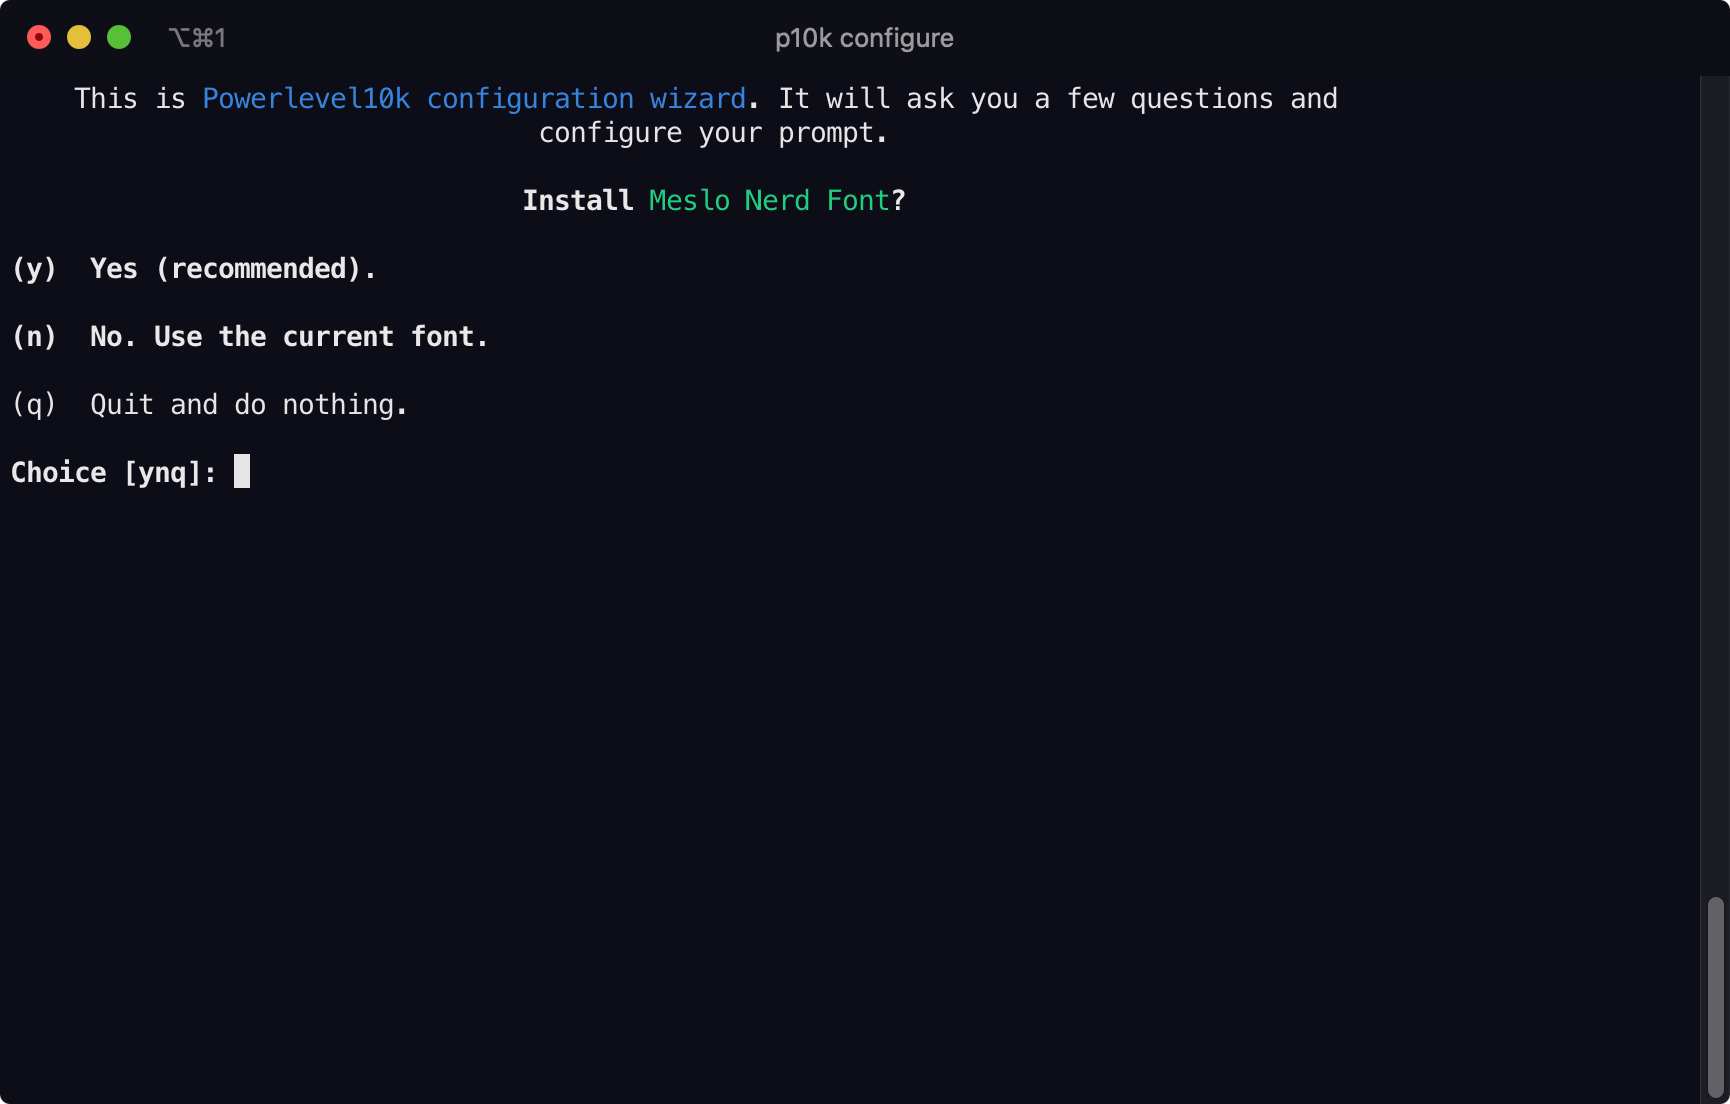
Once the font is installed -
-
Restart iTerm2.
-
You will be greeted again by the configuration wizard, which will ask you several preference questions. (The right answers to which are left as an exercise to the reader :P)
-
Set the configuration wizard as per your preference. Incase you do not like the final outcome, you can reconfigure it again with the following command.
p10k configure
For my setup I have selected the following configurations for Powerlevel10k
| Parameter | My choice |
|---|---|
| Does this look like a diamond ? | Yes |
| Does this look like a lock ? | Yes |
| Does this look like a Debian logo ? | Yes |
| Do all these icons fit between the crosses? | Yes |
| Prompt Style | Pure |
| Prompt Colors | Original |
| Non-permanent content location | Left |
| Show current time ? | 24-hour format |
| Prompt Height | Two lines |
| Prompt Spacing | Sparse |
| Enable Transient Prompt? | No |
| Instant Prompt Mode | Verbose |
| Overwrite ~/.p10k.zsh? | Yes |
| Apply changes to ~/.zshrc? | Yes |
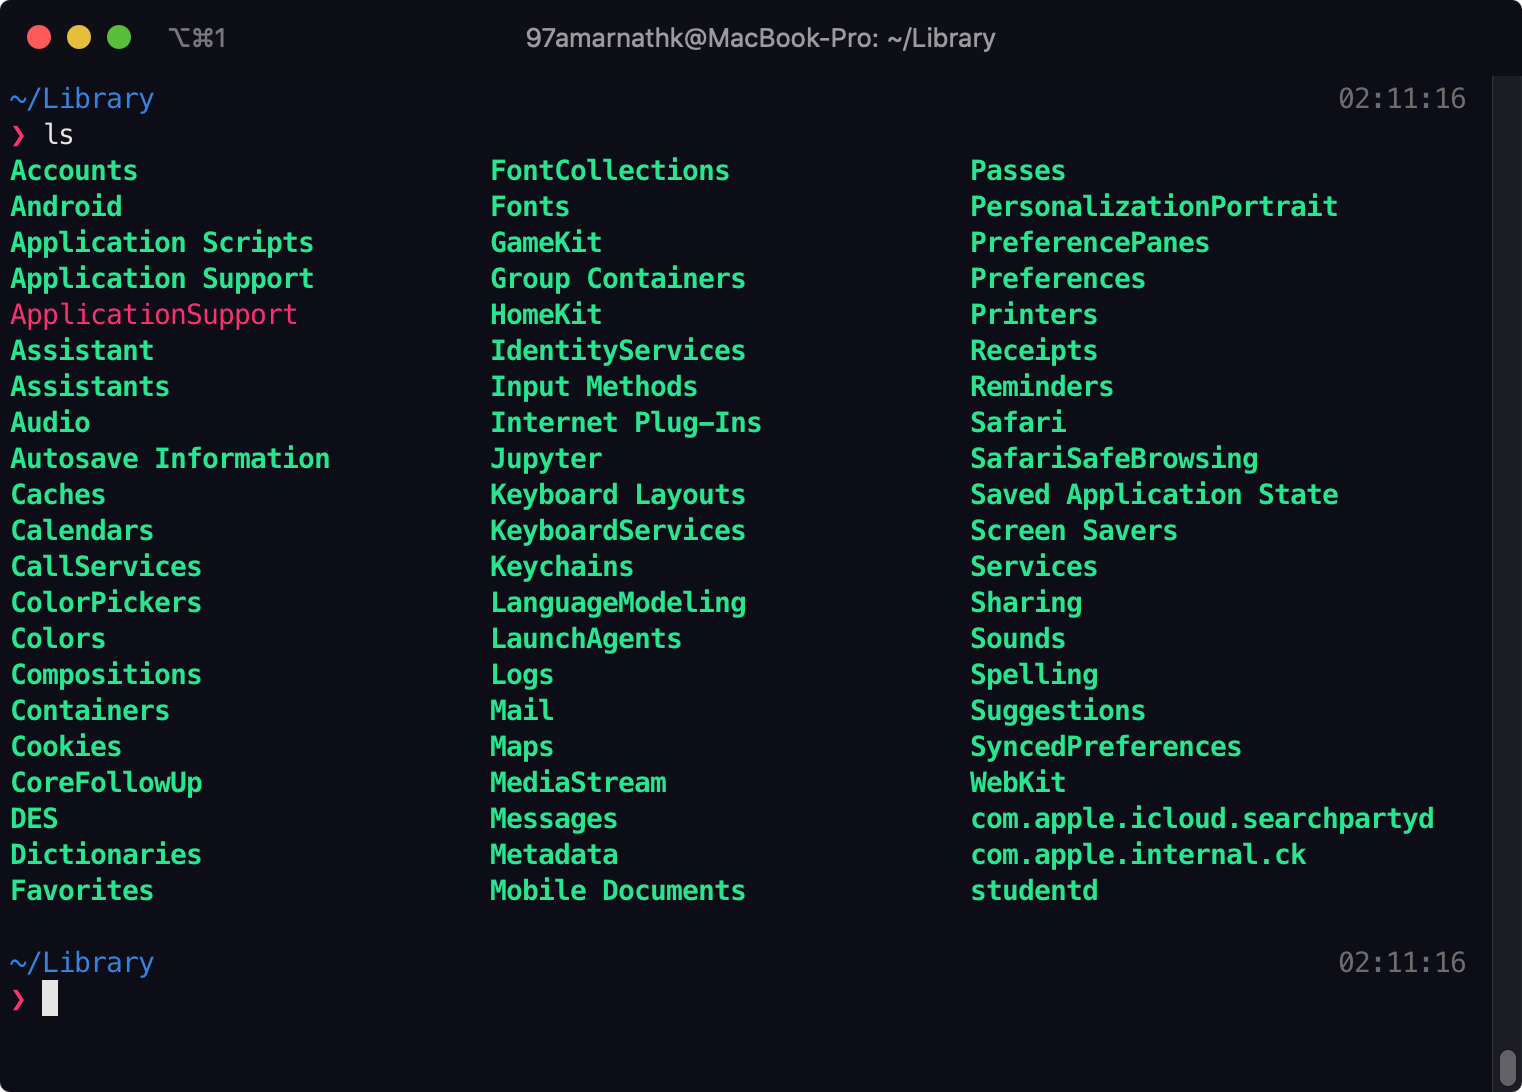
With the above values, Powerlevel10k sets the terminal to appear as follows.
Plugins for ZSH
ZSH has a vast collection of plugins for different use cases. You can find a well maintained list of ZSH plugins here. Here I will be mentioning two plugins which I feel are must-haves.
Adding plugins can make your terminal slower and less responsive, so only add the essential plugins.
zsh-autosuggestions
zsh-autosuggestions provides you with command suggestions as you are typing the command. It stores the commands you use over time and uses these to predict the command you are typing. When you press the → key, the command is completed.
It comes handy for very long bash commands. Instead of noting these commands down in some notepad, you can directly type some keyword you remember from the command, and zsh-autosuggestions will almost always suggest you the right command.
To install zsh-autosuggestions on Oh My ZSH -
- Use the following command -
git clone https://github.com/zsh-users/zsh-autosuggestions ${ZSH_CUSTOM:-~/.oh-my-zsh/custom}/plugins/zsh-autosuggestions - Enable the plugin by going to your
~/.zshrcfile. It contains a variable namedplugins, which is a space separated tuple of plugin names. Addzsh-autosuggestionsto this tuple like this.# before changes : plugins=(some-plugin another-plugin) plugins=(some-plugin another-plugin zsh-autosuggestions) - Source the modified .zshrc file with
source ~/.zshrc
To verify, type some big command like below once, and run it.
echo "Hey there, this is Amarnath"
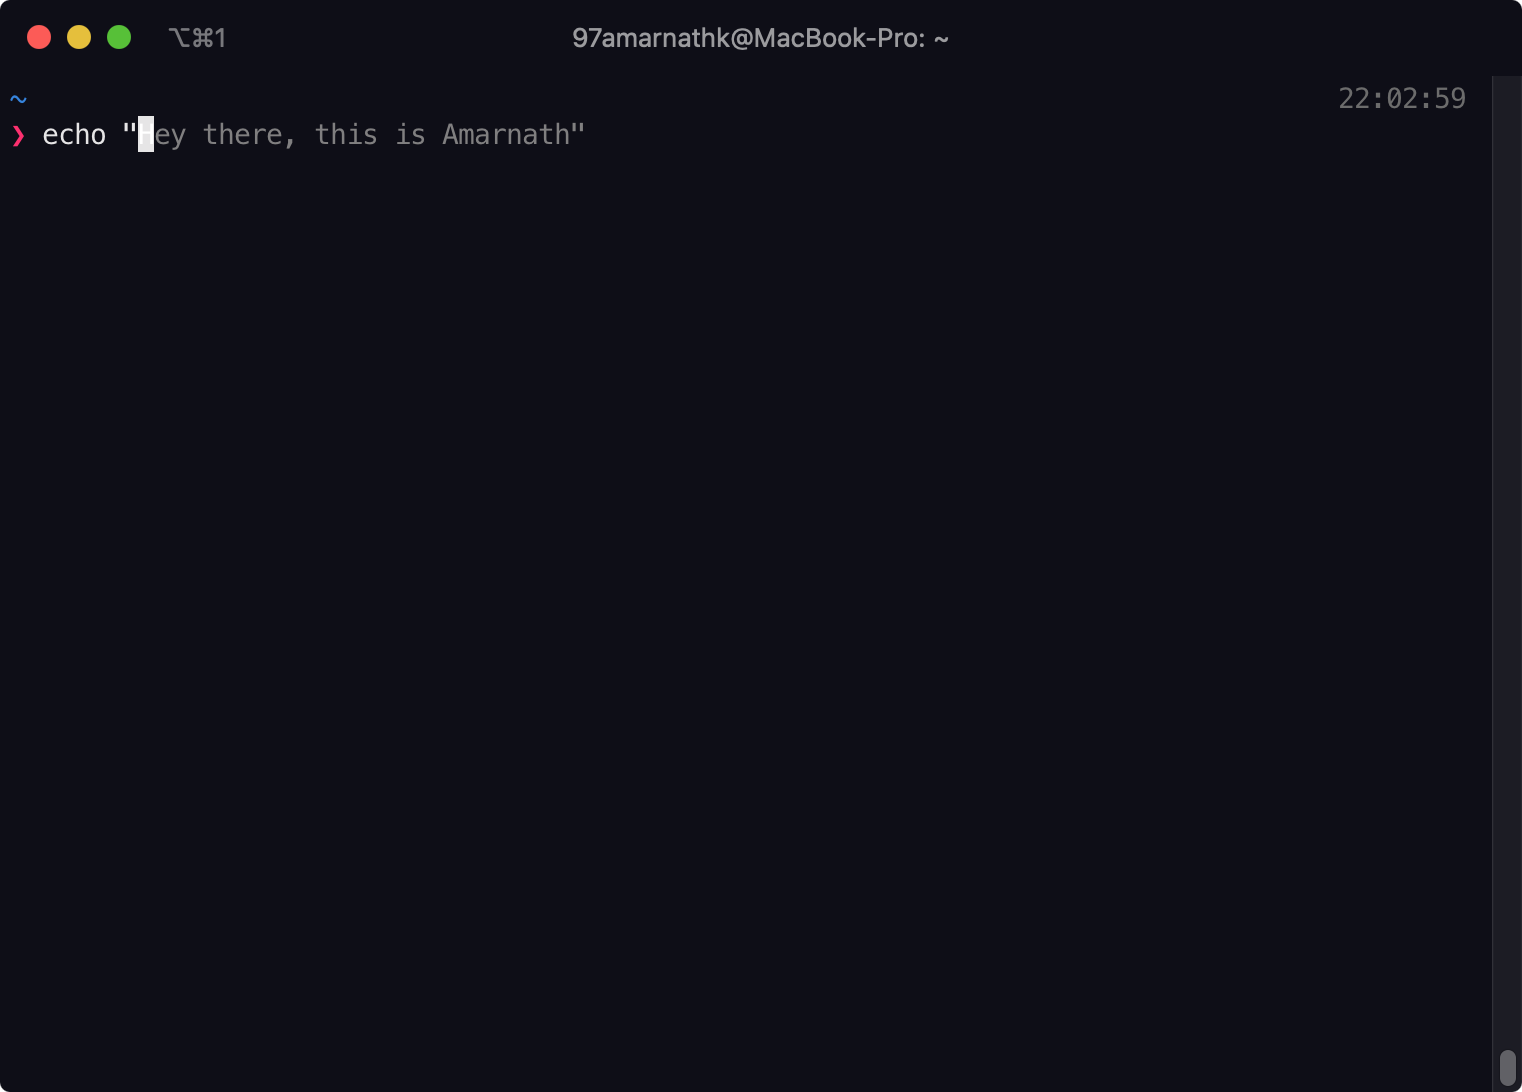
Then, the next time when you just type echo "H, you should get the previous command as an inline suggestion.
Inline suggestions would look something like shown below. Just press the → key to take the suggestion, and your command will be completed.
zsh-syntax-higlighting
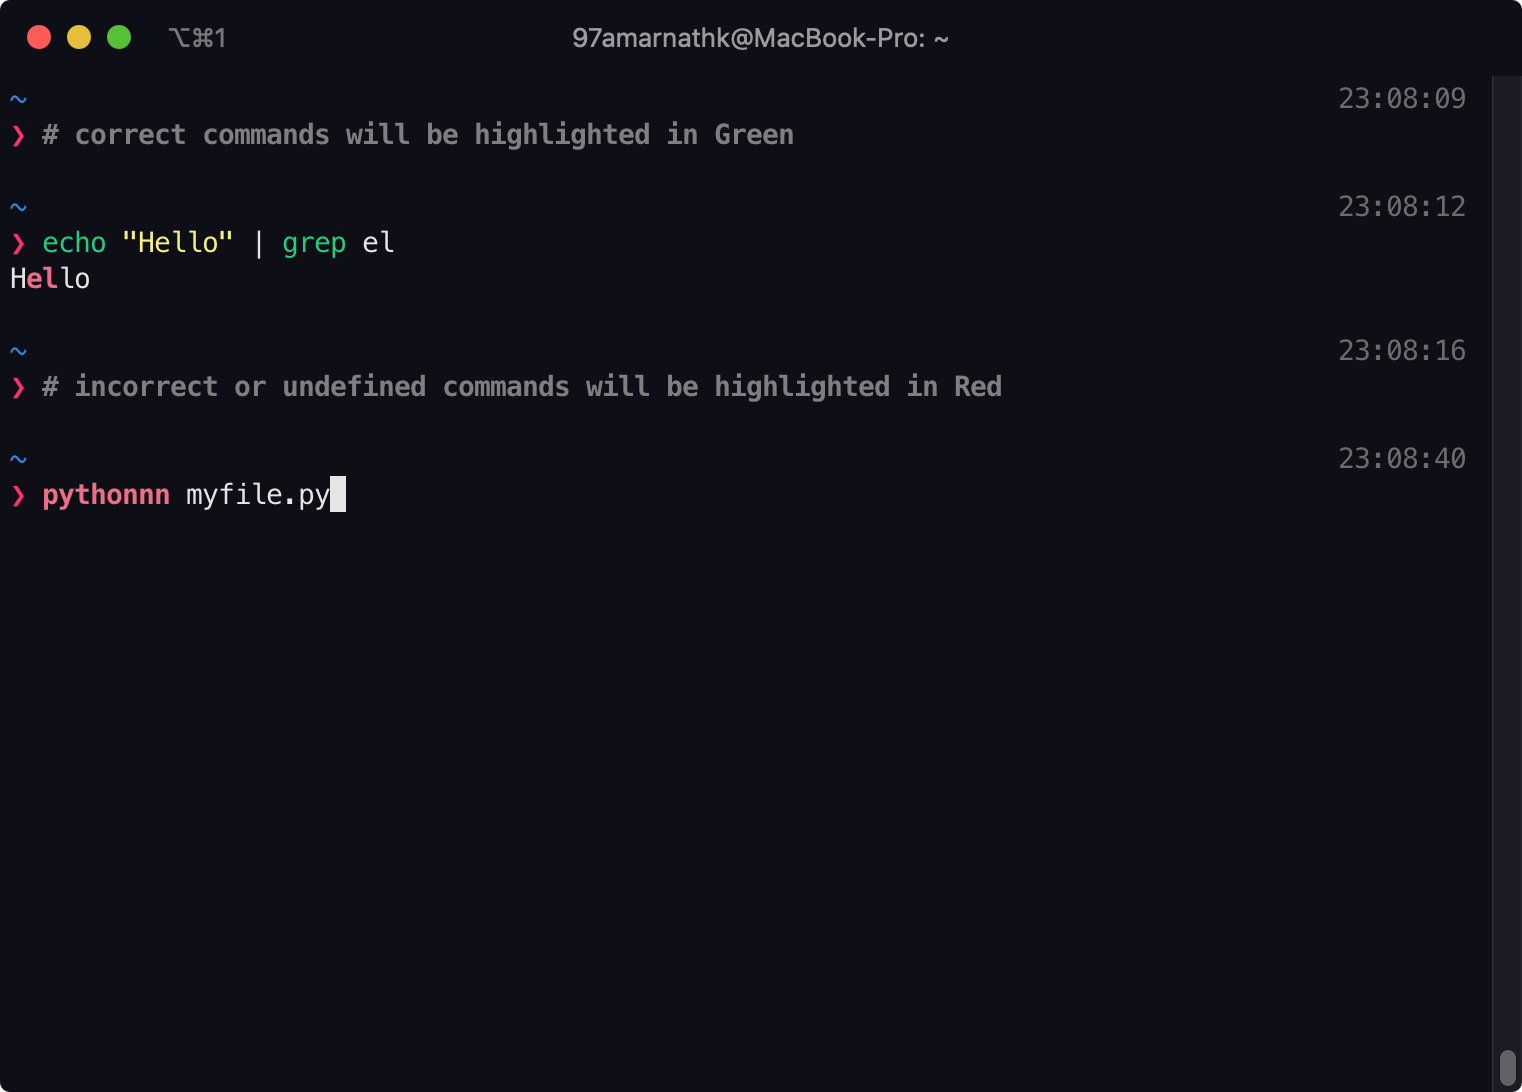
zsh-syntax-highlighting provides syntax highlighting for all the zsh/bash commands you type in the interactive shell. This helps you in knowing when you typed a syntactically incorrect command even before you complete typing it.
To use zsh-syntax-highlighting -
-
Install zsh-syntax-highlighting with the command
git clone https://github.com/zsh-users/zsh-syntax-highlighting.git ${ZSH_CUSTOM:-~/.oh-my-zsh/custom}/plugins/zsh-syntax-highlighting -
Add
zsh-syntax-highlightingto thepluginsvariable, defined in~/.zshrcfile.#before changes : plugins=(some-plugin another-plugin) plugins=(some-plugin another-plugin zsh-syntax-highlighting) -
Source the modified zshrc file with
source ~/.zshrc
Putting back exports and aliases
The final step is to add back all the aliases and exported variables you were previously using , back to the file ~/.zshrc.
exports
For exported variables, go to the backup of your previous dotfiles, copy the exports and place them at the end of the ~/.zshrc file.
One thing to keep in mind is the export for PATH variable. This variable will change frequently as and when you install new tools and libraries. These exports should automatically get appended to the ~/.zshrc file by the installation script of the tool/library. But on the off change, that the library is still not available, you might need to add an export to the PATH variable manually.
aliases
You can copy the aliases manually in a similar manner, but there a better way to maintain your custom aliases.
- Create a new file
~/.zsh_aliases, and place all your aliases here. - Source this file at the end of
~/.zshrc. This will ensure that in future whenever you change your ZSH configuration again, instead of copying all the aliases manually, you will just need to source the~/.zsh_aliasesfile at the end.
# at the end of ~/.zshrc
source ~/.zsh_aliases
Further extending this idea, you can have separate alias files for your work and personal projects, meaning that when you switch jobs, you just need to delete the work alias file. This again left as an exercise to the reader :P